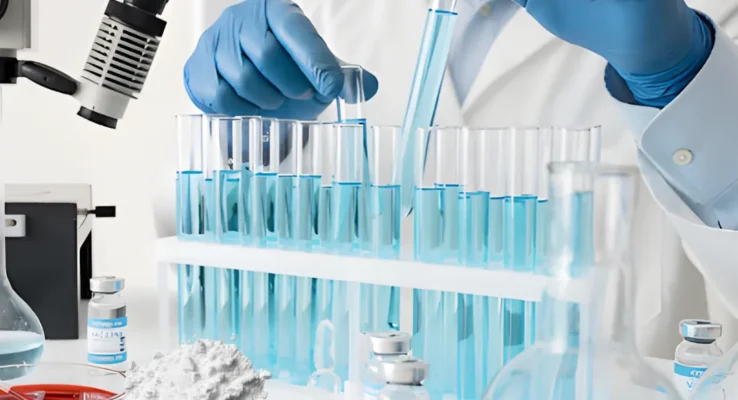
How To Use Testing Methods and Equipment
Required for Corrugation and Pasting Gum in Corrugated Box Manufacturing
Why Testing of Corrugation and Pasting Gum Is Important :
Testing adhesive is not just a laboratory exercise—it is a preventive quality control measure. Proper testing helps to:
Avoid sheet delamination
Reduce warp and peeling issues
Maintain consistent pin adhesion
Control gum consumption
Improve machine speed and productivity
Reduce QC rejections and customer complaints
Poorly tested or cheap-quality gum often results in hidden losses, such as increased paper consumption, downtime, and rework.
Types of Adhesives Used in Corrugated Packaging :
1. Corrugation Gum
used in:
Single facer bonding (liner to flute)
Double backer bonding
Usually starch-based and heat-activated.
2. Pasting Gum
Used in:
Side pasting of boxes
Pasting partitions, pads, and flaps
Generally cold-applied adhesives with higher tack.
Testing parameters differ slightly for both, but many core tests remain common.
Key Parameters to Be Tested in Corrugation and Pasting Gum:
Viscosity
Solids content
pH value
Gel temperature
Tack / bonding strength
Setting time
Penetration
Microbial stability
1. Viscosity Testing
Importance of Viscosity
Viscosity controls:
Glue pickup
Flow on glue rolls
Penetration into paper fibers
Drying speed
Incorrect viscosity is the most common cause of bonding failure.
Recommended Equipment
B-Type Viscometer (Ford Cup / Zahn Cup)
Stopwatch
Thermometer
Testing Method
Stir the gum sample properly.
Maintain sample temperature (usually 25–30°C).
Fill the viscometer cup fully.
Remove the orifice stopper and start the stopwatch.
Record the time taken for continuous flow to break.
Typical Viscosity Range
Corrugation gum: 25–60 seconds
Pasting gum: 40–90 seconds
2. Solids Content Testing
Why Solids Content Matters
Solids content affects:
Bond strength
Drying time
Consumption rate
Cost per box
Low solids = weak bonding
High solids = poor flow and machine issues
Required Equipment
Digital weighing balance
Hot air oven or moisture analyzer
Aluminum dish
Testing Method
Weigh empty dish.
Add a known quantity of gum.
Dry at 105°C until constant weight.
Calculate solids percentage.
Typical Solids Range
Corrugation gum: 18–25%
Pasting gum: 22–35%
3. PH Value Testing
Importance of pH Control
pH affects:
Starch gelatinization
Adhesive stability
Paper compatibility
Machine corrosion risk
Incorrect pH can cause gum breakdown or weak bonding.
Equipment Required
Digital pH meter
Calibration buffers (pH 4, 7, 9)
Testing Method
Calibrate the pH meter.
Dip the probe into the gum sample.
Record stable reading.
Ideal pH Range
Corrugation gum: 7to 8.5
Pasting gum: 7 to 7.5
4. Gel Temperature Test
What Is Gel Temperature?
Gel temperature is the temperature at which starch adhesive starts gelatinizing and forming bond.
Why It Is Important
Affects machine startup time
Controls bonding speed
Impacts steam consumption
Equipment Required
Hot plate with temperature control
Thermometer
Glass beaker
Testing Method
Heat gum slowly while stirring.
Observe thickening or gel formation.
Note the temperature at which gel starts forming.
Typical Gel Temperature
60°C to 75°C (depending on formulation)
5. Tack and Initial Bond Strength Test
Purpose
Tack indicates how quickly the adhesive grabs the paper, especially important for pasting gum.
Equipment Required
Two kraft paper strips
Roller or finger pressure
Timer
Testing Method
Apply gum on one paper strip.
Press another strip on it.
After a fixed time, pull apart manually.
Observe fiber tear or bond strength.
Good adhesive shows fiber tear, not clean separation.
6. Pin Adhesion Test (Board-Level Testing)
Why This Test Is Critical
Pin adhesion measures the actual bond between liner and flute after corrugation.
Equipment Required
Pin adhesion tester
Sample cutter
Testing Method
Prepare board sample.
Mount on tester.
Apply force until separation.
Record force value.
Higher pin adhesion indicates better gum performance.
7. Setting Time Test
Importance
Setting time affects:
Stacking
Conversion speed
Warp formation
Equipment Required
Stopwatch
Sample boards
Testing Method
Apply gum.
Press surfaces together.
Measure time required for stable bonding.
Fast-setting gum improves productivity but must not be brittle.
8. Penetration Test
Why Penetration Matters
Too much penetration weakens paper.
Too little penetration causes surface bonding only.
Testing Method
Visual inspection of cut section
Compare penetration depth
Balanced penetration gives maximum bond strength.
9. Microbial / Fermentation Stability Test
Why It Is Needed
Starch adhesives are prone to:
Bacterial growth
Bad odor
Viscosity breakdown
Equipment Required
Storage containers
Thermometer
Visual and odor inspection
Testing Method
Store gum for 24–48 hours and observe:
Smell
Foam
Viscosity change
Good-quality gum remains stable.
10. Field Trials on Corrugation Machine
Laboratory testing must always be followed by machine trials.
Parameters to Observe:
Glue pickup
Board flatness
Bond quality
Steam consumption
Speed stability
This is the final and most practical test.
Testing Equipment Summary:
Essential equipment for gum testing:
B-Type Viscometer
pH Meter
Digital weighing balance
Hot air oven
Thermometer
- Stopwatch
Pin adhesion tester
Sample cutter
Moisture analyzer (optional)
These instruments form the backbone of an effective quality control system.
Common Problems Due to Poor Gum Testing:
- Sheet delamination
- Warping
- Peeling
- Patch mark
- Burst failure
- QC rejections
Conclusion :
Refractometer Test for Solids Content (Quick & Practical Method):
A refractometer is a fast, on-floor testing instrument used to measure the approximate solids content of corrugation and pasting gum by checking the refractive index of the adhesive solution.
Unlike the oven-drying method, this test gives instant results, making it ideal for production floor control and quick decision-making.
Why Refractometer Testing Is Important
Refractometer testing helps to:
Monitor daily solids consistency
Quickly detect over-dilution or thick gum
Control adhesive consumption
Reduce bonding failures due to low solids
Save time compared to laboratory drying methods
It is especially useful during:
Batch preparation
Shift changes
Machine speed adjustments
Equipment Required
Handheld or digital Refractometer (0–50 Brix scale recommended)
Clean dropper or pipette
Soft tissue or cloth
Distilled water (for calibration)
Calibration of Refractometer
Open the prism cover.
Place 1–2 drops of distilled water on the prism.
Close the cover and look through the eyepiece (or digital display).
Adjust calibration screw until reading shows 0 Brix.
Clean the prism before testing gum.
Calibration should be done daily for accurate readings.
Testing Method
Stir the gum sample properly to ensure uniformity.
Take a small sample using a dropper.
Place 1–2 drops on the refractometer prism.
Close the cover gently.
Read the Brix value directly.
Clean the prism immediately after use.
Typical Brix / Solids Reference Values
(Indicative values – actual correlation may vary with formulation)
Corrugation gum: 18–25 Brix
Pasting gum: 22–35 Brix
Note: Refractometer readings give approximate solids. Final confirmation should be done using the oven drying method.
Advantages of Refractometer Test
- Very fast (results in seconds)
- Easy to use by operators
- Suitable for shop-floor testing
- Helps maintain batch-to-batch consistency
Limitations of Refractometer Test
- Not as accurate as oven-drying method
- Affected by additives, sugars, and salts
- Requires periodic calibration Gives approximate, not absolute, solids content
Therefore, refractometer testing should be used as a control tool, not the only quality test.
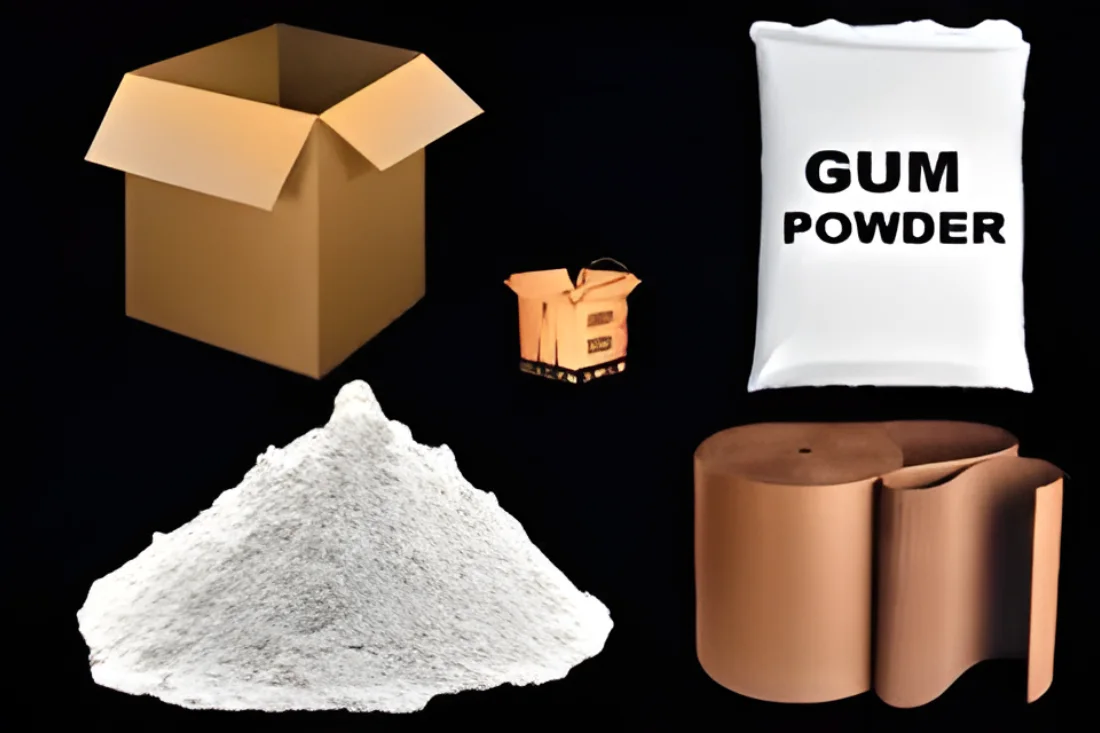
Adhesives (Gum) Used in